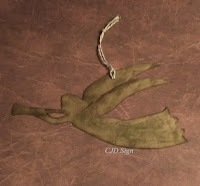
14 Thursday's Before Christmas ~ Paper Origami Ornaments

Hi, Sweet Friends!

There are only 14 Thursdays Until Christmas! For some of you, this is no trouble and you never may give it a thought until this week of Christmas.
However, many of you are looking at these weeks before Christmas and making your decorations, creating gifts, and making foods to freeze, can, and give away. It is a busy time in our house from August to Christmas!

This is the 3rd of 16 posts will be on making Paper Origami Ornaments. 

You will need to have a few things before you start this project.

 #3 Paper Origami Ornaments
Supplies:

A glass with a circle lip for the round pattern. A larger top round gives a larger circle, the bottom gives a smaller circle. I used both making 6 of each size. (The glass should be empty and clean, unlike the example below :) 
Printed paper in five patterns that go well together.
scissors
clear drying glue, like "Elmer's"
glue stick
string or twine
ink pads (Cocoa & Desert Sand) optional
* Another idea is to make even more Origami Balls with different sized rounds, like a small plate, a juice glass, a teacup, etc. Tracing the bottom & top of each will give you different sized circles for the balls.
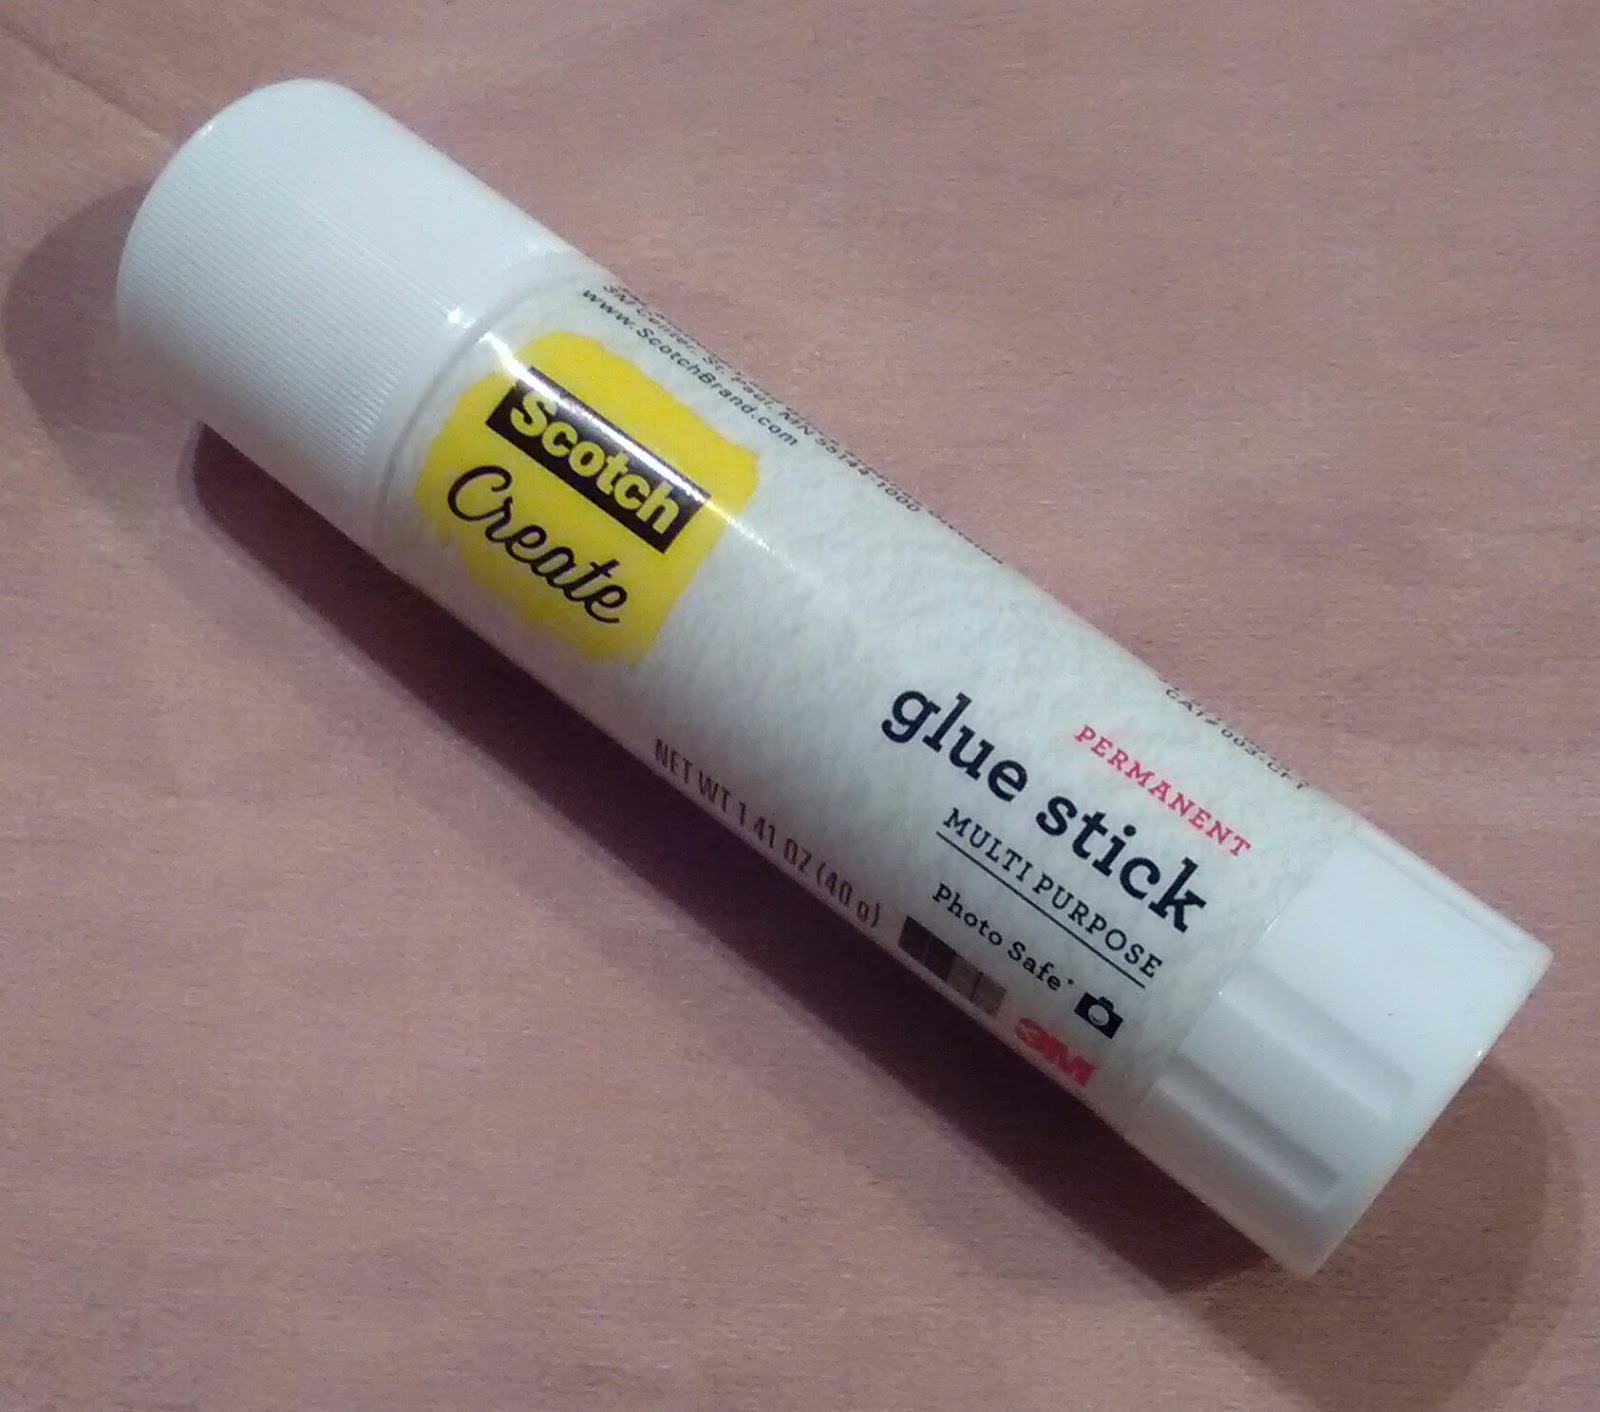
glue stick
string, this one is from JoAnn's
 The inks I am using are from Close To My Heart, in Cocoa & Desert Sand. 

Directions:
  1.  Begin by drawing the pattern of the cup
  2. Cut 5 circles for each of the 6 balls (6 in each of the 6 color papers, 30 total circles).
3. Lay out the circles out with 6 circles (1 of each color) in stacks of 6.
4. Ink the circles in the Desert Sand all over the circles like shown above. Edge the circles in Cocoa Ink.
5. Fold the circles in half, print or color side in, as shown.
6. With 4 of the circles or enough for one ball, unfold each circle.
7. Glue each of the halves to each other until all circles are glued together.
8. You should have two half circles without glue when you have completed (one in the beginning and one at the end).
9. Cut all the lengths of the string/twine the same length. 6 pieces in total. Tie a knot at one end of each of the 6 pieces. Leave the other end as it is for now.
10. Take the clear glue and make a line of glue in the middle for the string/twine.
11. Position the string/twine on the middle in the glue, as shown above.
12.nGluestick these last two pieces on one of the unattached halves.
13. Let dry and repeat for all the 6 balls.
14. Tie a loop at the top of all 6 strings/twine.
Now they are ready to hang on the Christmas Tree!
All photos are by CJD.Sign. If you want to use my photo, please give me credit. Thank you.

Enjoy!

12
Imagehttp://stylingwithcjdsign.blogspot.com/2018/10/12-cdts-until-christmas-easy-decorated.html
11 http://stylingwithcjdsign.blogspot.com/2018/10/11-cdthursdays-until-christmas-printed.html 10
09

9 Thursdays Until Christmas ~ Paterned Paper Ornaments


Image


07
7 Thursdays Until Christmas
06
05
04
03
02
01


Let’s connect!
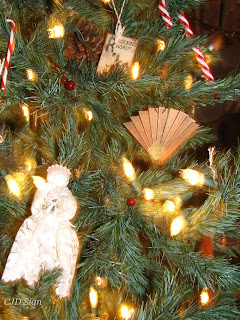
Aside from email, social media is another great way to pick up updates from me.
Follow me on Twitter
Like my Facebook page

Pin my Pics on Pinterest
Follow me on Pinterest 
Follow me on Instagram

 http://customgemcutter.com

Comments

Popular Posts