13 Thursdays Before Christmas ~ Paper Covered Light Ornaments

There is only 13 Thursdays Until Christmas! For some of you, this is no trouble and you never may give it a thought until this week of Christmas.

This 4th of 16 posts will be on making Paper Covered Light Ornaments.
You will need to have a few things before you start this project.
#4 Paper Covered Light Ornaments

Supplies:
6 light bulbs, small chandelier type, old or new, large outdoor type Christmas lights, or small Vanity bulbs.
Printed paper in 6 patterns that go well together. (1 for each of the 6 light bulbs.) Or for all the same pattern, you will need the same number pieces for each bulb.
scissors
Gluestick
Mod Podge
sponge brush
Clear Glue like Elmer's
string or twine
ink pads (Cocoa & Desert Sand) optional
old tray, cookie sheet, or baking rack to dry them on
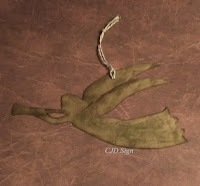
* Another idea is to use different shaped light bulbs.
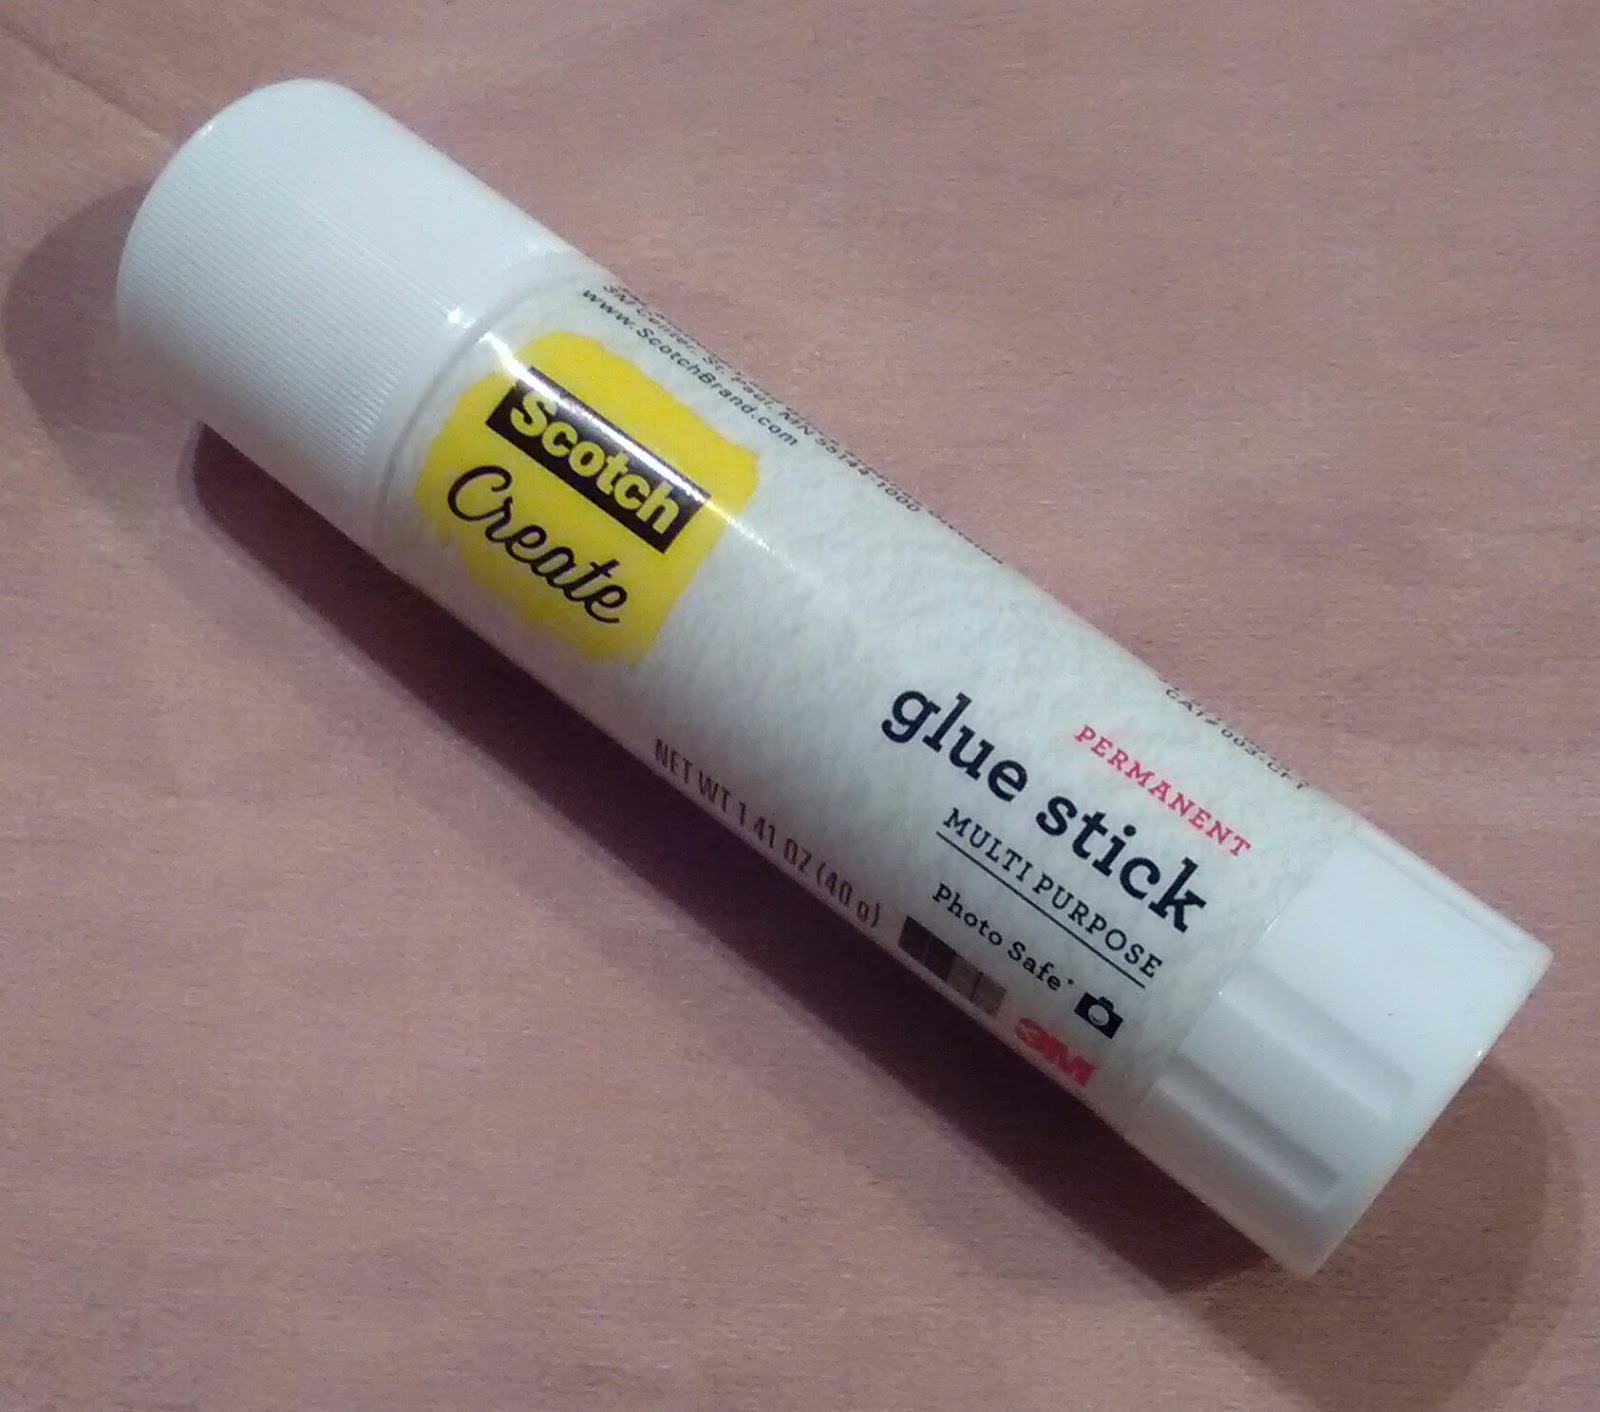 |
| glue stick |
 |
| String from JoAnn's |

 |
| Chandelier bulbs have a cute point that really makes make these look nice! |
Directions:
- Begin by tearing strips of the patterned papers (12 total- depending on the size of the bulb) or more if you want a blended bulb. The small bulbs take less than the big ones. I had many leftover pieces from other projects.

- Or cut strips of patterned paper (12 total) or more if you are blending papers.

Leftover paper strips work well for this project!


5. Mod Podge, with the sponge brush, the whole papered bulb and the receptacle (top electric part). Let dry. I set them on an old plastic tray to dry. Turn a few times so they won't stick to the tray.
6. Once dry to the touch, take the twine, jute, or string and make a loop around the bulb, glue down to the receptacle, with Elmer's type of clear drying glue, as you go. *tip* if you start with the hanger loop, then wrap up, it will finish in a nice spiral on the top. Do glue with the clear glue as you go around the top. Just a bit here and there. Really glue under the final end. I kept my twine uncut until the very end. It was more manageable than a long piece. But if you are having children do this, too, then cut each a 12" or so piece. You may have to trim off excess, or just let them keep wrapping. Glue down the end piece.

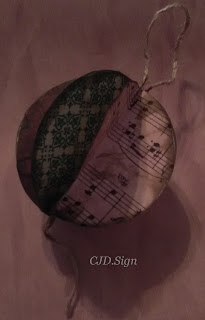
Finished bulb ornament!
4. Ink the bulb in the Desert Sand all over like shown above. I like the look of the twine on the top, so I just left it like that, without any inking. I didn't use plastic gloves and I would suggest it!

Your Paper Covered Light Ornaments are ready to hang once the glue is dried.
All photos are by CJD.Sign. If you want to use my photo, please give me credit. Thank you.

Enjoy!

 h
h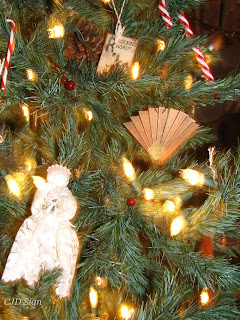


Aside from email, social media is another great way to pick up updates from me.
Follow me on Twitter
Like my Facebook page
Pin my Pics on Pinterest
Follow me on Pinterest
Follow me on Instagram
http://customgemcutter.com

.JPG)

Comments
Post a Comment