A Wedding Journey: The Flowers: Bouquet Tutorial
 |
| Peonies from my yard. Photo CJD.Sign |
I chose peachy pink and white Peonies. All of the flowers came from Hobby Lobby and JoAnn's.
 |
| Peonies Photo: CJD.Sign |
 |
| These accent flowers came from JoAnn's. Photo: CJD.Sign |
 |
| Flowers from Hobby Lobby. Photo: CJD.Sign |
 |
| I choose you sign from Hobby Lobby. Photo: CJD.Sign |
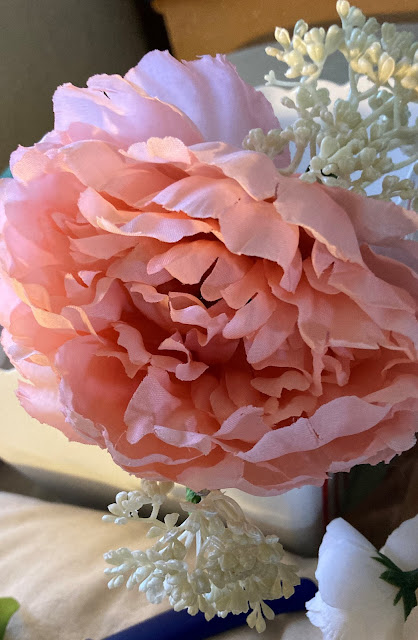
The Bouquets consist of 3 large white silk peonies, small accent flowers, flower stems, and greenery. My Bridal Bouquet has 3 large pinky peach silk peonies added to the above flowers and greenery.
 |
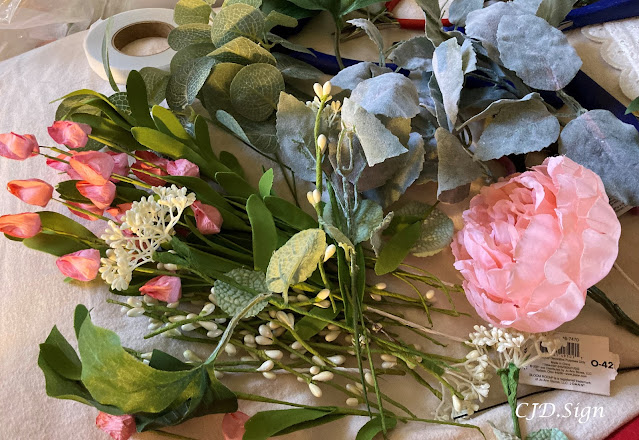
| Flowers for my Bridal Bouquet. Photo: CJD.Sign |
 |
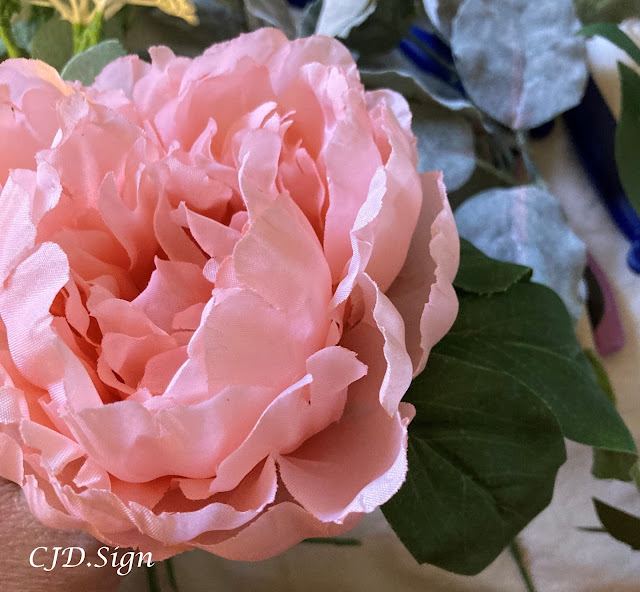
| I chose Large Pinky Peach Peonies. Photo: CJD.Sign |
The leaves and stem poky parts will be removed.
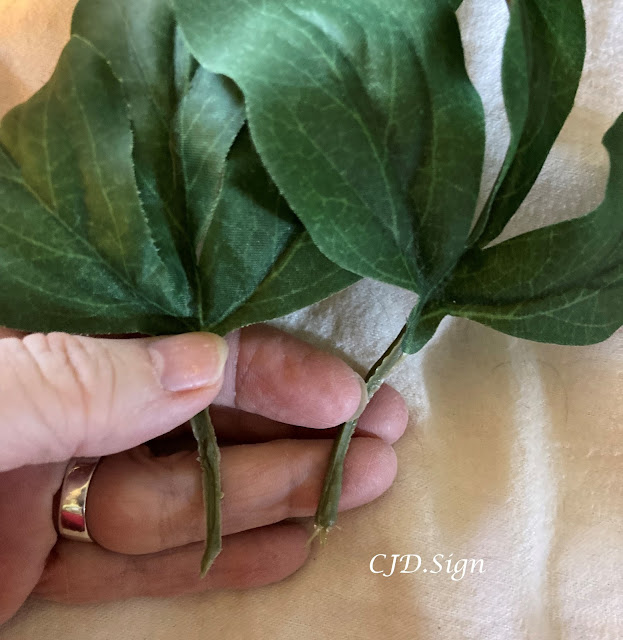
These peonies were easy to prepare for the bouquet. The leaves are pulled off from the stems.
These peonies do not have wired in the stems, but are of a hardened plastic.
Trim the stems to the length you want. I kept one short for the center point flower.
Take the leaves and cut open the connection area; the thicker part can be slit or cut long ways down the stem.
I gather up the flowers to see what they will look like in color and size for the arrangement.
I added these small staimen flowers to the sides of the large peonies, I added back the leaves just a bit higher toward the blossoms.
Take off all tags, and leaves off all the flower pieces you will use for the bouquet.
The light cream and peachy peonies are from Walmart Online. I could not find the exact flowers in store, so I ordered most of these flowers from online sources. I will put the links below.
This was the first time I used these "foam-type" flowers and leaves. They make a nice addition.
These Staimens look nice and worked well in all the floral arrangements for the wedding. I found them at Hobby Lobby.
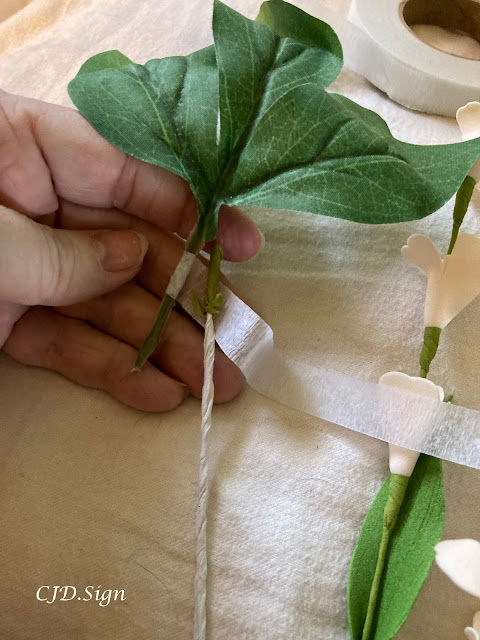
Wrap the small staimen flowers in floral tape starting at the base of the flowers and bringing it down the stems.
Now, I added these small flowers to the large peachy pink peonies. Using White floral tape because they will be covered in ribbons.
Work the floral tape down the stems.
Add leaves to wire for strength. I used the wires that came off some of the leaves and small staymen flowers. These worked very well.
When attaching the flowers to the large peonies, use enough floral tape so they don't pull apart. Securing the ends by making sure the floral tape is pulled and pressed into the stems.
I gathered the little "bouquets" for the bouquets. They worked well in forming levels in the flowers.
I wanted a garden feeling with the bridal bouquet. As if walking in the garden the flowers were plucked out and gathered into the bouquet.
Wrap all of the smaller stems together and bring the floral tape down, stretching as you go down the stems.
Unwrapping the leaves of the smaller flowers gave me more options for the leaves and extra wire pieces to wire them into the bouquet.
The finished bouquets look like sweet gathered flowers.
If this look of the free-form garden style bouquet is not your style, then simply trim out the flowers to the length you want them.
I hope you found this tutorial helpful and that you have the courage to make your own boutonnieres for a wedding or special occasion!
Wedding decor will be the next tutorial to come. Stay tuned!
We would love you to join in our journey!
The end of this journey is just our beginning!
Do come along with us! I will have pictures, ideas, and more that you can take along with you!
-Thank you for joining Our Journey!
A Wedding Journey Links
Some References:
https://stylingwithcjdsign.blogspot.com/2019/06/free-wedding-printables.html
https://botanicalpaperworks.com/blog/free-printables-wedding-planning-binder/
-Thank you for watching!
Enjoy, CJD.Sign
:D 

Aside from email, social media is another great way to pick up updates from me.
Follow me on Twitter
Like my Facebook page

Pin my pics on Pinterest
Follow me on Pinterest
Follow me on Instagram
Follow me on Photography Talk

 |
| Custom Gem Cutter Matt A. Dunkle |









.JPG)

Comments
Post a Comment