DIY Envelopes
I'm so excited to write this post! I love hand decorated envelopes and these little treasure holders go wonderfully in the DIY Journals!
 |
| Envelope Template I have used for over 30 years. CJD.Sign |
http://templatelab.com/envelope-templates/
I used a pearlized cardstock for this envelope.
After printing off the Envelope template, lay it on the cardstock. Cut it out on the solid lines. The dotted lines are for the folds. DO NOT CUT THE DOTTED LINES.
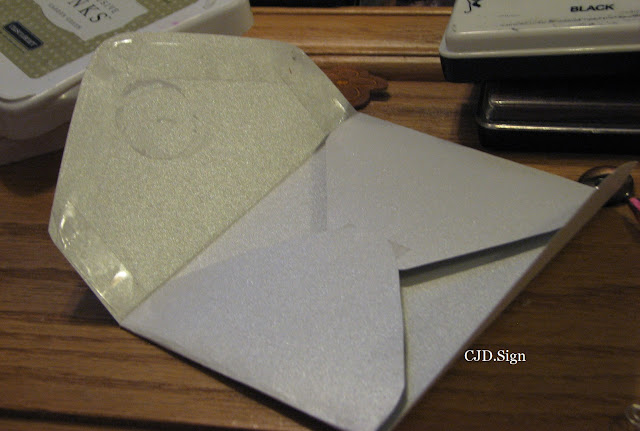
When folded the envelope will look like this. This one is not taped yet and I used the scissors to hold it down.
I ran the non-cutting edge of the scissors along the fold to press it crisply.
I used Double Stick Tape (Double Sided Tape) to close the envelope. The Stickers used are from Close To My Heart . Any stickers will work. These are printed on a cardstock so the stickers more dementional.
To TAPE:
1. Tape the center with one piece of tape. See the tape in the middle? It is ok if the tape is a bit longer as the bottom of the envelope will cover it just fine.
2. Tape the bottom of the envelope as shown. See the shiny tape?
Close the bottom of the envelope up to the middle as shown. Below.
 |
| Add stickers to the envelope. CJD.Sign |
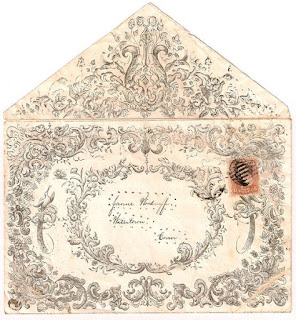
I have encluded some other ideas for envelopes from The Graphics Fairy's Emphemera.
Here is a neat Vintage Envelope from The Graphics Fairy
Here are some really nice Vintage Flourishes from The Graphics Fairy that can be printed onto the cardstock at the size of the envelope being made.
 |
| Pinterest.com |
Enjoy!
God Bless You!
Let’s connect! God Bless You!
Aside from email, social media is another great way to pick up updates from me.
Follow me on Twitter
Like my Facebook page
Pin my Pics on Pinterest
Follow me on Pinterest
Follow me on Instagram
Our Sponsor
http://customgemcutter.com


.JPG)

Comments
Post a Comment