DIY Cropping In Microsoft Paint
Today we are taking a look at photo cropping using "Paint" program on your computer.
 |
| BEFORE CROPPING |
Here is how I do it.
Open a photo you'd like to edit in "Paint" when you left click on the open photo.
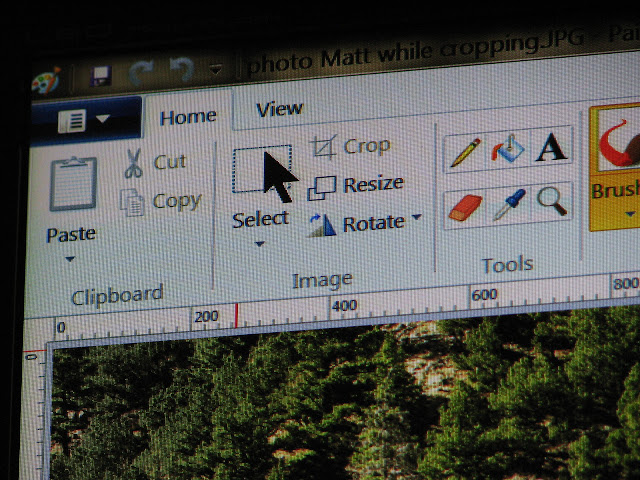
When paint comes up, you can choose many cool options in the above tool bar.
Choose the "View". This will allow you to "Zoom In" (increase) or "Zoom Out" (decrease) the photo. Today
I will decrease this photo.

Next, Click the "Home" button. This brings you back to the home tool bar menu.
Choose "Select". It is a rectangle box with the word "Select" under it. Just choose the box, the others below the arrow we don't use today.

 Drag the "Select" box over the area you would like to crop and lift up your finger to drop it where you want it. If you don't like the look of the area in the box, simply click the outside area to remove the box and start again. If you need to there is a blue arrow in the tool bar, above the arrow the word home to "undo" any changes to your original photo.
Next, your photo should be cropped. Click the "Save" button or Control "s" to save your photo.
 Close "Paint" at the x in the corner and your ready to use your newly cropped photo!
Hope you got all that!
Enjoy!
CJD.Sign


.JPG)

Comments
Post a Comment