Thankful Jar

What is a Thankful Jar?
Well, it is a tradition in our home to take a Mason Jar with the lid and fill it the week before Thanksgiving with thankful messages.
On Thanksgiving, we take the jar, filled with little pieces of folded papers, with written thanks on them, and read them at the table before our meal begins. We try to keep it to no more than two per person if we have a large crowd.
Here is how I do it:

1 Mason jar with lid
1 piece of ribbon to make a bow (this one has wire) or enough ribbon to go around the jar top twice.
a pen
scissors
or paper cutter to make
slips of paper cut into small shapes
small flowers
hot glue gun (glue stick)
Directions:
 |
| Take the 12 x 12" double-sided Fall paper and fold it in half. and in half again. |
 | |
| Unfold the paper and cut down the long half line. Then cut each piece in half. |

 |
| Being careful while using scissors and the paper cutter around children and fur babies. |


Here are my messages as examples: "I am so thankful for all my Family, both blood & because. CJ" and "I am EXTREMELY thankful for my Service Animal, Rurik!! CJ"
 |
| Fold up the messages and place them in the mason jar. I kept the ring on the jar and removed the sealing ring. |

 |
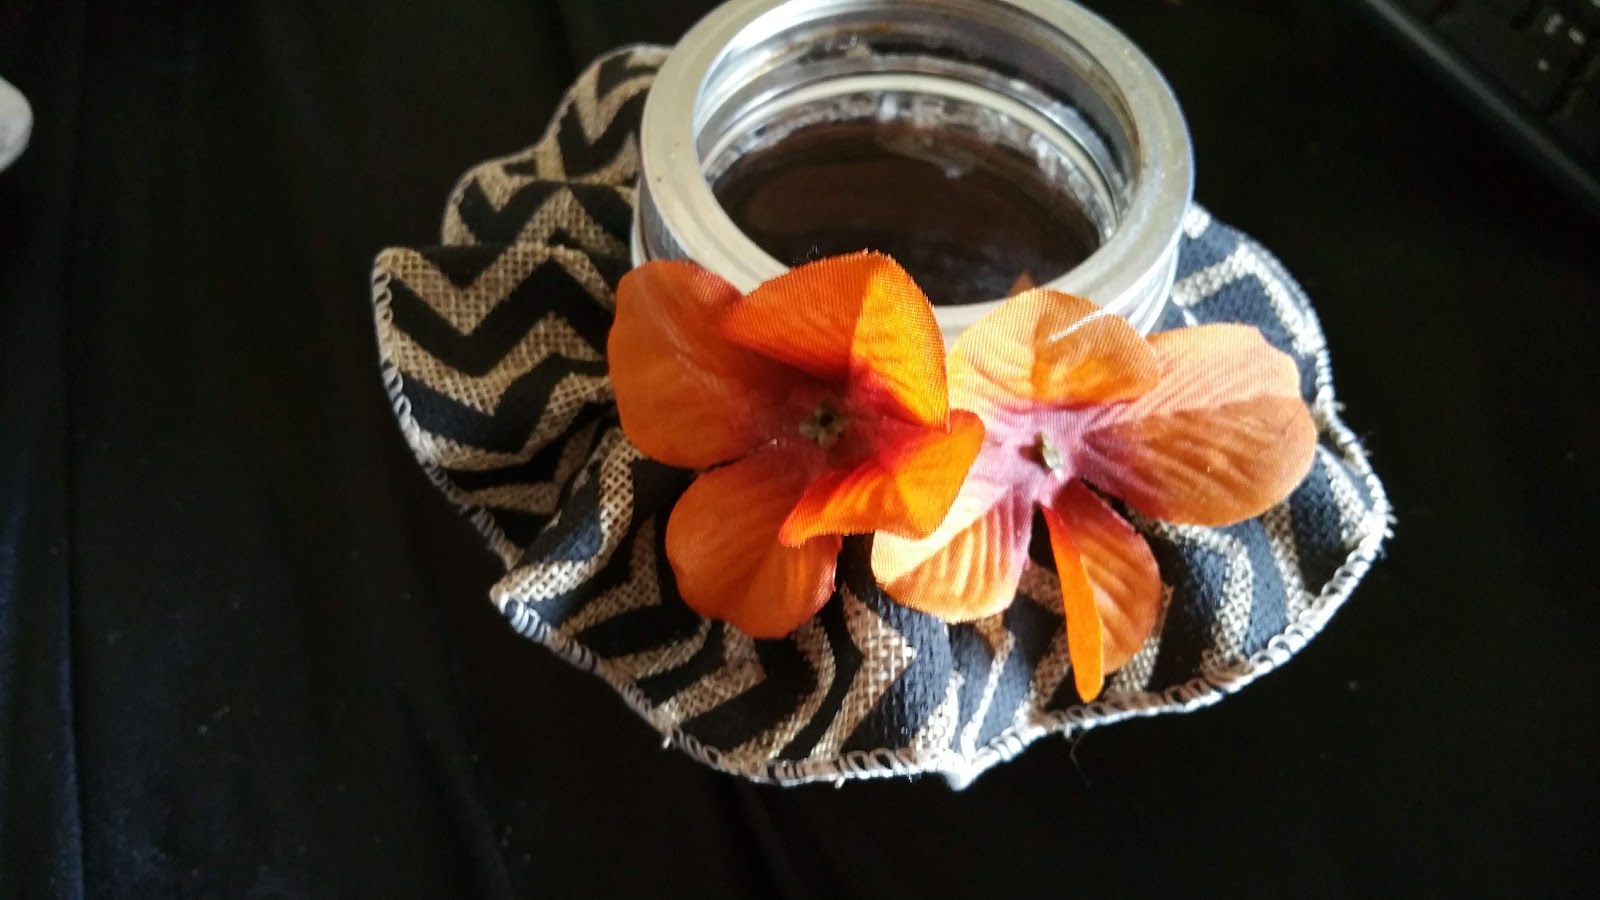
| This ribbon has wire in each edge. Take the top edge and gently start to pull the wire out of the ribbon. |


It is fun to read what everyone was thankful for the previous year.
 |
| "My Thankful Jar is ready to travel to our Thanksgiving Gathering this year!" CJD.Sign |
|
| If you wish a more manly look, forgo the ribbon. It is still very nice and classic with the Fall paper slips! |
I place the jar somewhere on the Thanksgiving Table and the person the jar is set by is the one who starts. Each person takes one/two paper slips out of the jar and reads the thanks and the name. Then the jar is passed to the next person and so on until the jar has been emptied.

So, what is this all about, we could just go around the table and ask everyone what they are thankful for? Well, we have little Grands at the table who get stumped when it is their turn and well, we are sitting there looking at the Turkey dinner and about fainting from the good smells of the feast...so, you choose, the old way or the Thankful Jar.

We like our new tradition!
Enjoy!

The fine print: Please link with love! As with all of our posts, DIY projects featured on Styling With CJD.Sign may not be copied, distributed or reproduced without express written permission.
Love and links are always appreciated!
If you’d like to share this post, please link to this post directly for the DIY tutorial and do not include the instructions in your own post. All photos on this post are by CJD.Sign. Please give credit. Thanks so much! oxo CJ
 |
| http://CustomGemCutter.com |
.JPG)

Comments
Post a Comment