Fabric & Trim DIY Lampshade
&
 |
 |


 |
| Fabric measurements are based upon lamp shade size. If yours is larger, it may need more fabric to cover the shade. |
Scissors
Paintbrush
Small milk cap
Stick pins
Paperclip
Glitter glue (optional)


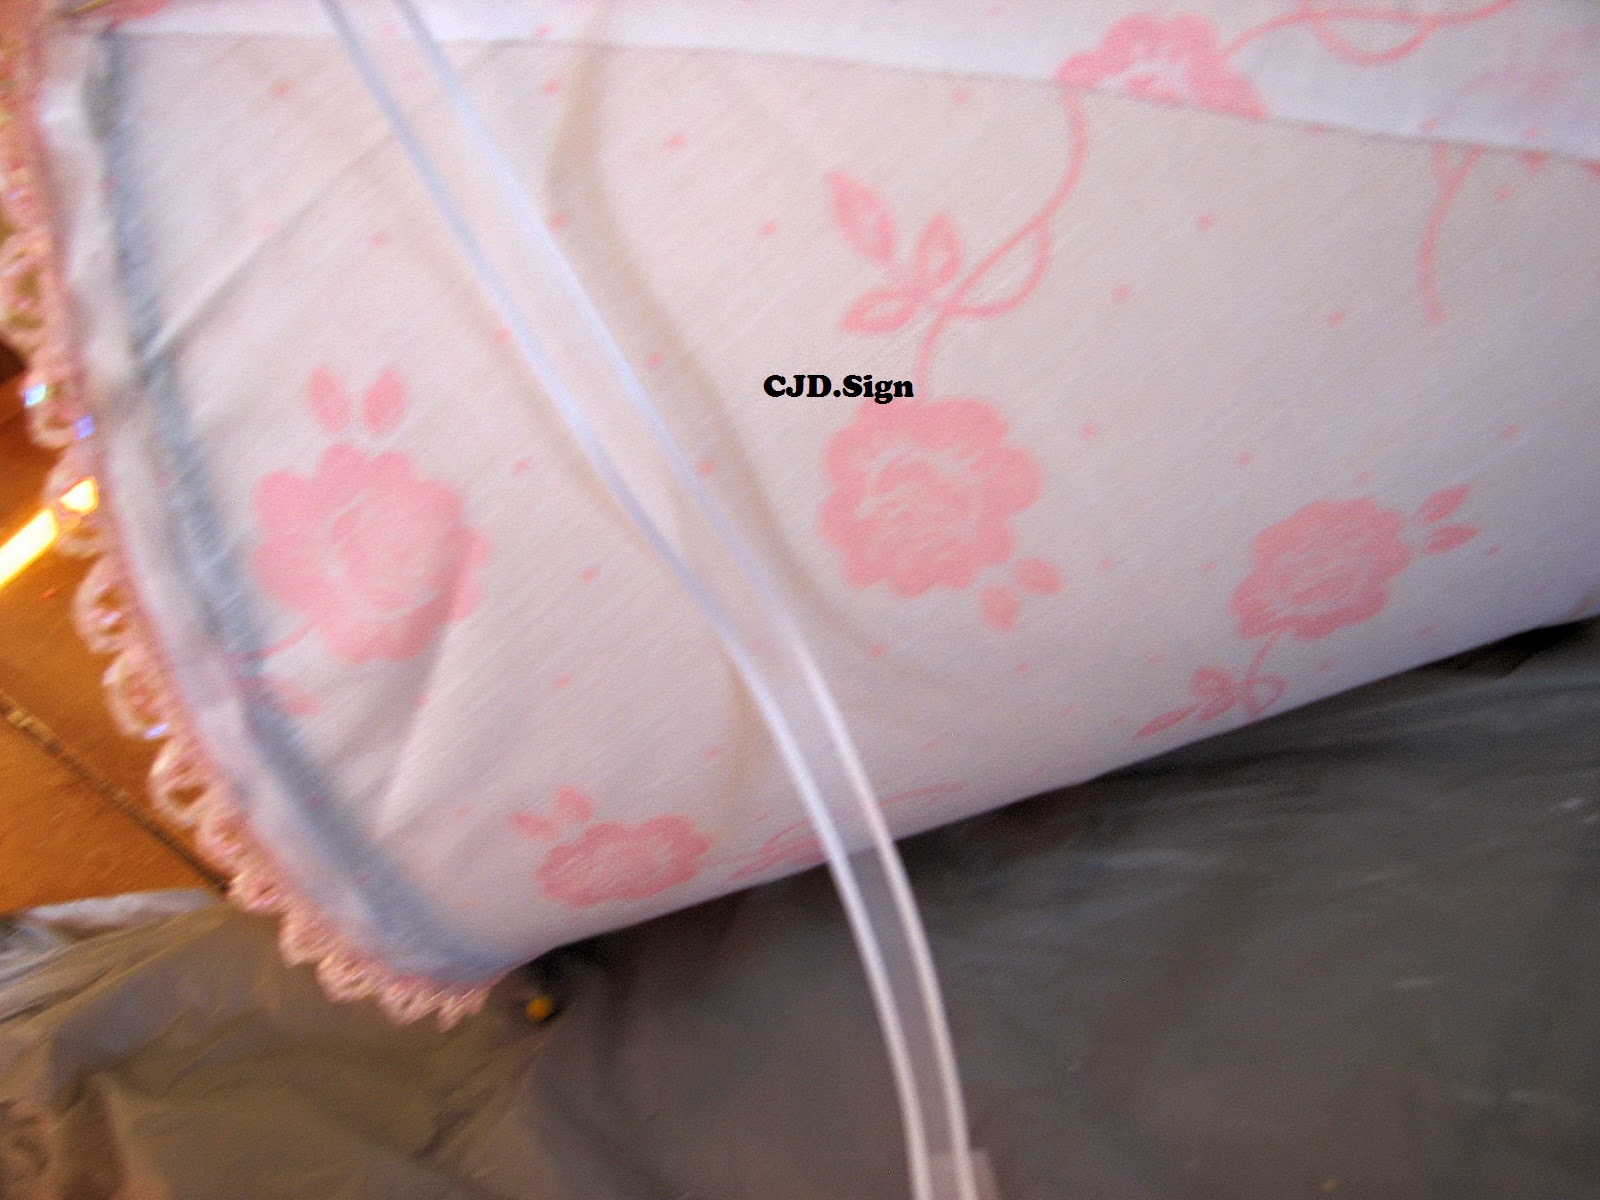
 Start my placing your edge with the front side facing out, onto the side seam with top and bottom of seams matching the top and bottom of the lampshade.
Slowly, smoothing out the material as you go, continue placing the material around the lampshade.

 Fixing pins into the piece as you round the lampshade. Keep pins in place until the glue is completely dry.


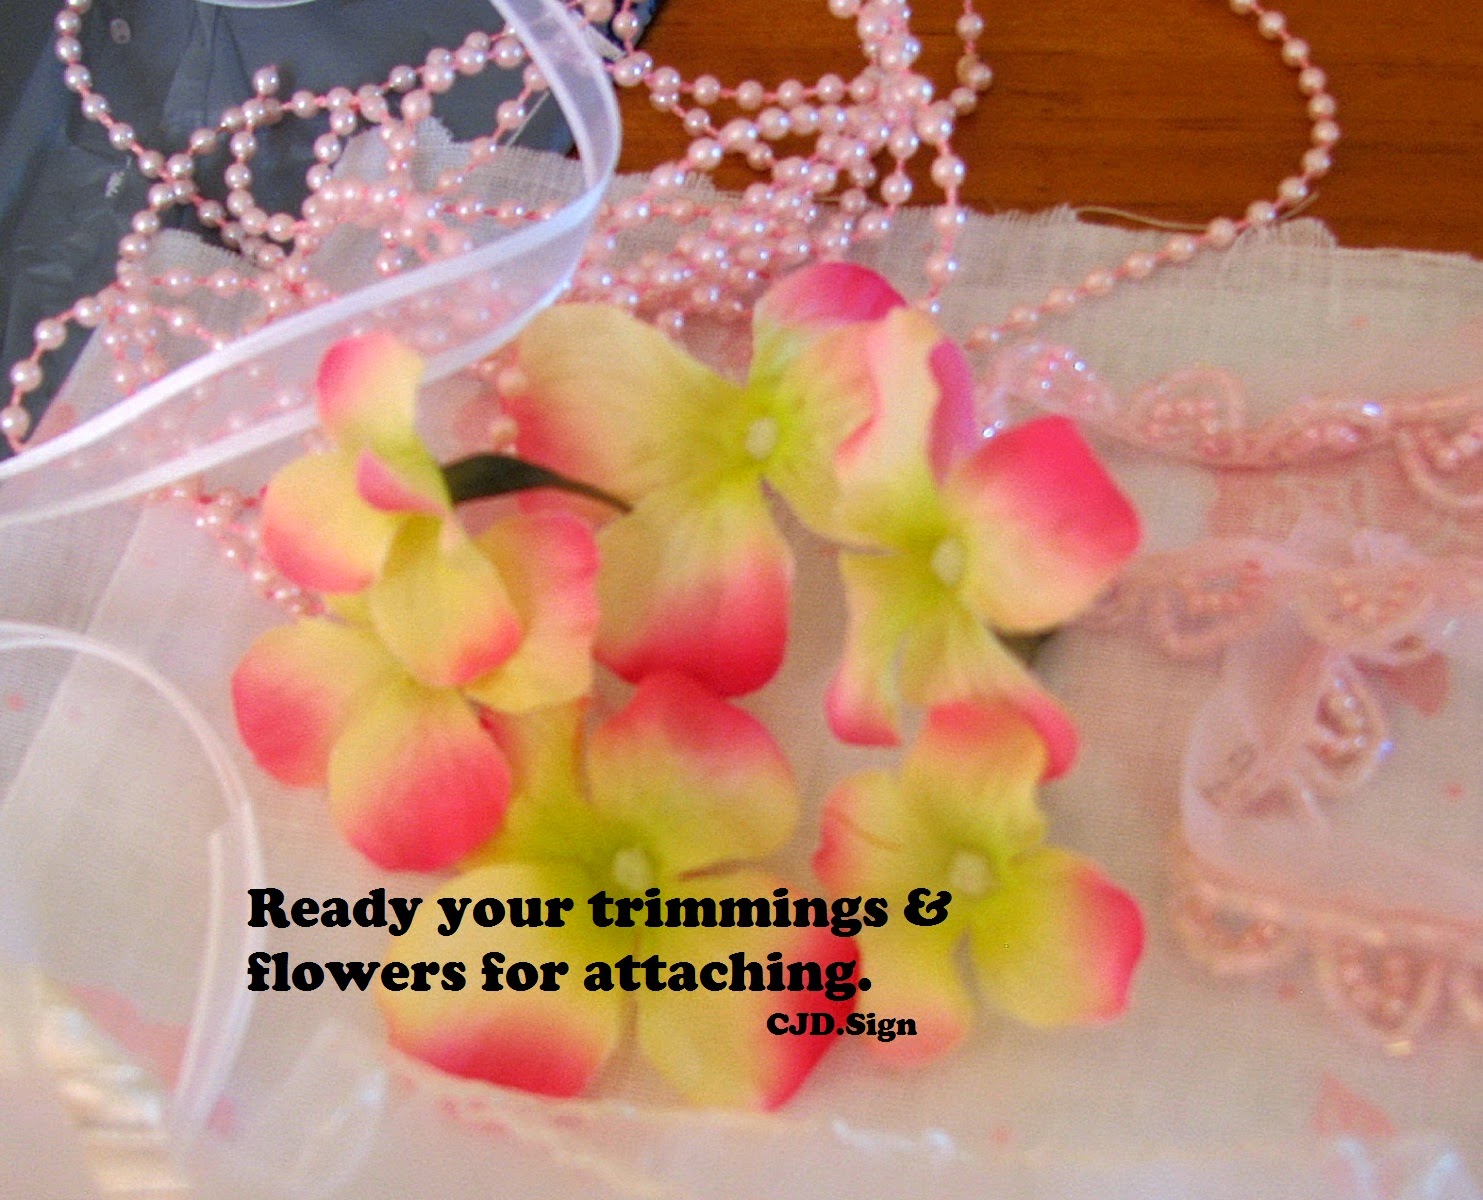
Glue and pin as you go and wait till glue is dried before adding next layer of elements.

 | |
| Smooth out glue with paint brush |
 |
| Press trim into glue as you go around shade. |
 |
| Keep going till the end; gluing and pressing. |
 |
| Pin ends and let completely dry. |
 |
| Glue the small ribbon on top of beaded trim. |
 |
| Use the same process as above. |


TA DA!! It's DONE!

The lampshade was a big hit! She loved it and so did Mom :)
Hope you enjoyed this as much as I did!
*yes, I was not using my glasses and did not see the material to notice I should have ironed it :(
Enjoy!
CJD.Sign
.JPG)

Comments
Post a Comment