Hi, Sweet Friends,
It is Christmas Time here again on the farm! And I enjoy having my days filled up with doing Christmasy things! But, who doesn't want to know quick and easy ways to do those things? I do!

I also have a system for my Christmas Tree. I set it up each time and put it away each time in just the same order. This has kept this particular tree in great condition over the past 20 years. I know that the fake Christmas Trees made these days, don't last that long. But with careful packing, it can look and stay very well, indeed.
Christmas Tree Tutorial:
Hack #1 Space
I have a tree skirt for each Christmas Theme and I pack them in each "Theme" Box. I lay out the tree skirt in the diameter to see where the tree will look best.
Put up the standby pulling aside 1/2 of the tree skirt, as shown above.
Hack #2 Fabric
If you don't have a tree skirt, use a 2-yard piece of fabric around the bottom of the tree and on top of the tree stand.
Put up the tree stand, cover the tree stand with the tree skirt.
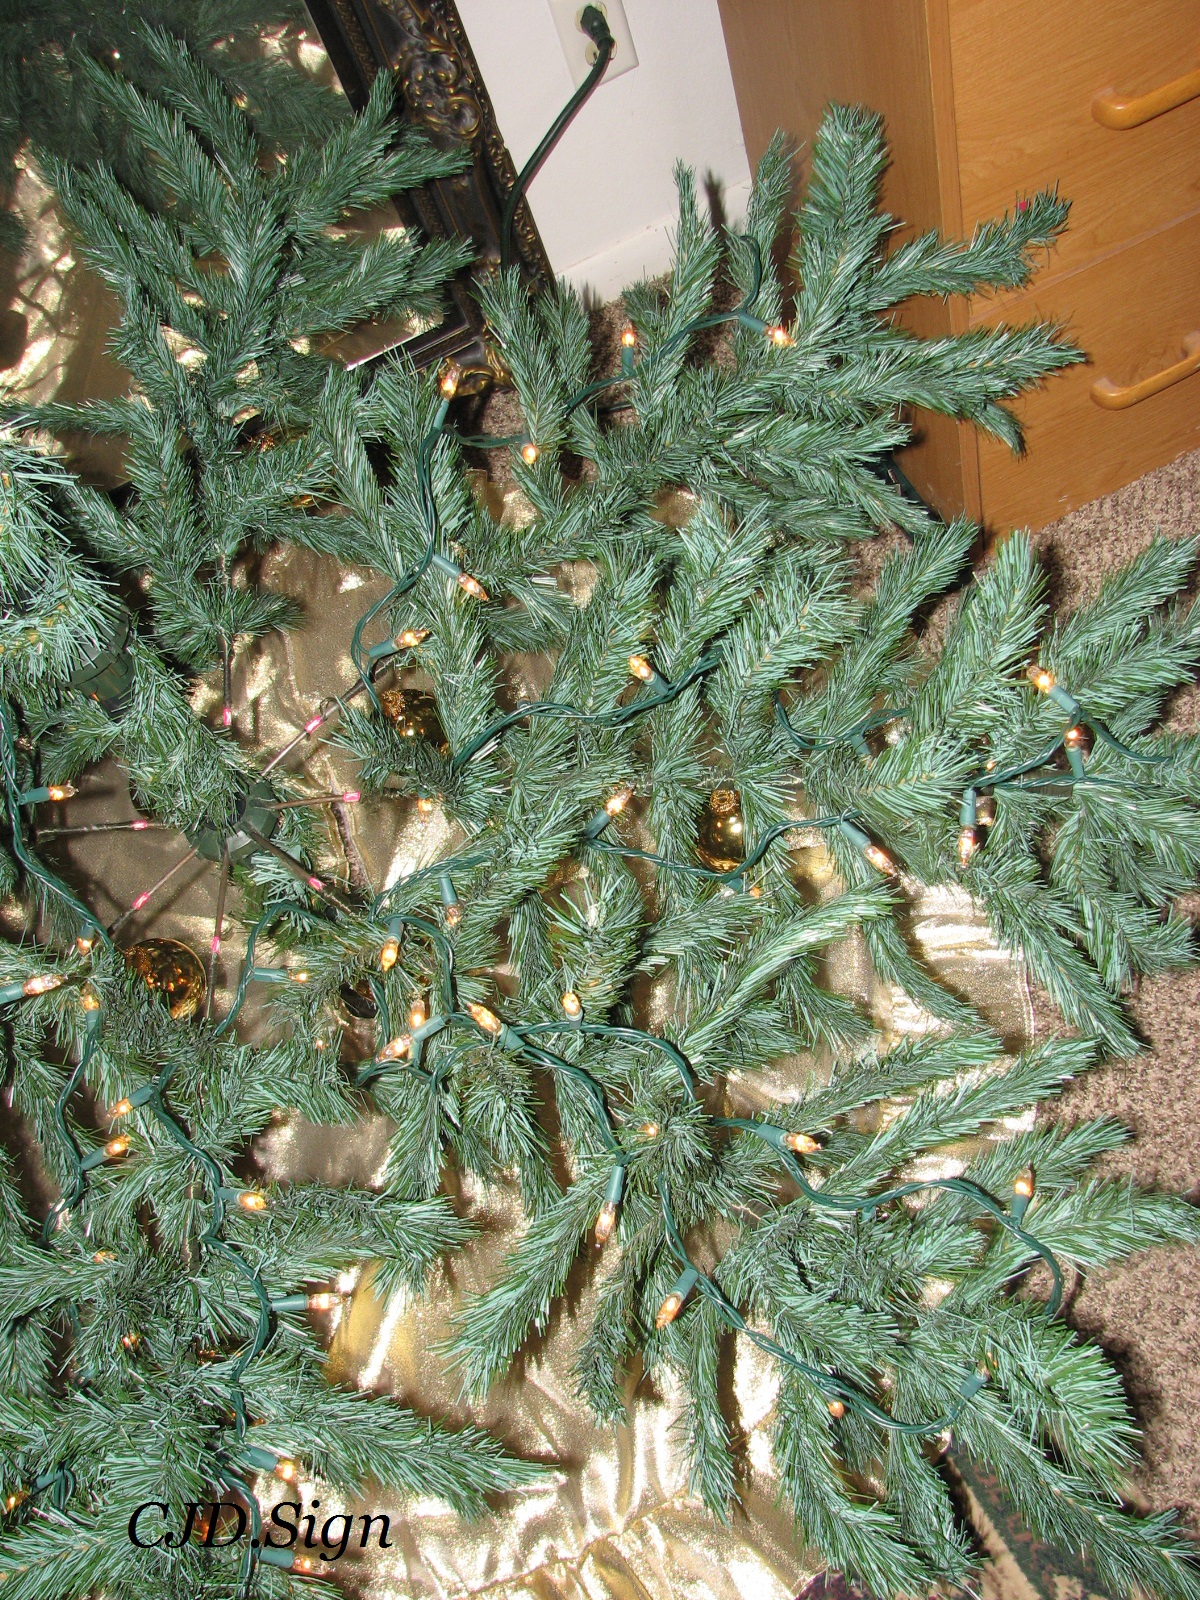
Hack #3 Mirror
I place a mirror in the back of the tree to help give light under the tree. This reflecting surface is a perfect trick to making the Christmas Tree that much more shiny and bright.
Place the first "stem" piece into the stand. Rearrange the pine so that it is evenly spaced up and down the "stem".
Hack #4 Packing
I use these large plastic totes to keep the stems of the Christmas Tree in good order.
Hack #5 Labeling
I label all the boxes with the contents, Cloth Ornaments, Glass Ornaments, Garlands & Plastic Ornaments, etc. I have enlarged them in the photo to see.
Hack #6 Organize
I pack my box as I take the tree down, with the small branches from the top of the tree are on the bottom of the box. Then the next larger, and so on, until the largest branches are on the top and the box is full. I place the tree top, multiple branched piece, on the very top of the box.
Hack#7 Details
 Pick out the largest branches. Lay them out, spread the limbs of the branches out to make the tree look fuller.
Place the first row on the tree frame as above. I go in a clockwise direction around the tree. I do the same direction for the lights. I take the lights off in a counterclockwise direction and the same with the branches.
The first row is done. Now fluff a bit more.
right side
left side
close up.
Hack#8 Hide
I try to hide the workings of the tree.
Next, I put balls of similar color. This tree theme was Gold, Silver & White. Gold balls shine brighter, so I placed them on the "stars" in the photo above. This is for each branch all the way up. These are the interior color of the tree.
The gold balls will catch the light and shine brightly.
The gold balls, or whatever color you have more of for your theme, like red, or white, fill in the tree as you go up.
Hack#9 Packing
I place each row of lights in the box at the level of the branches. See photo above. This way, the lights don't get messed and tangled and they go on the branches they are under.
Check the lights. White Tree = White wired lights. Green Tree = Green wired lights.
Replace any burnt out lights.
Then start wrapping the lights from the center to the tips of each branch.
Wrap at the end, then come back down the branch to the center and go to the next branch. Repeat on each branch.
Put the light strands inside the branches, hugging the center of the branch.
The look is bright, light-filled, and amazingly beautiful. Below is just one level of branches lit.
The lights on in the dark, above. The lights on in the light, below.
Above is a closeup of the turn on the end of the branch.
On to the next set of branches and lights.
Hack#12 LIGHT Placement
I use two types of lights. The cut glass lights and the multi-light sets.
These cut glass lights are more expensive, but I love the look to the sparkle they throw off the tree!
 These multi-strand lights look awesome on the top three layers of the tree. The lights are closer together, so the smaller part looks just as light-filled as the first.
Hack#13 Recheck
Recheck the lights before you wrap them on the next level. This saves so much time if a light is burnt out and effects the whole line.
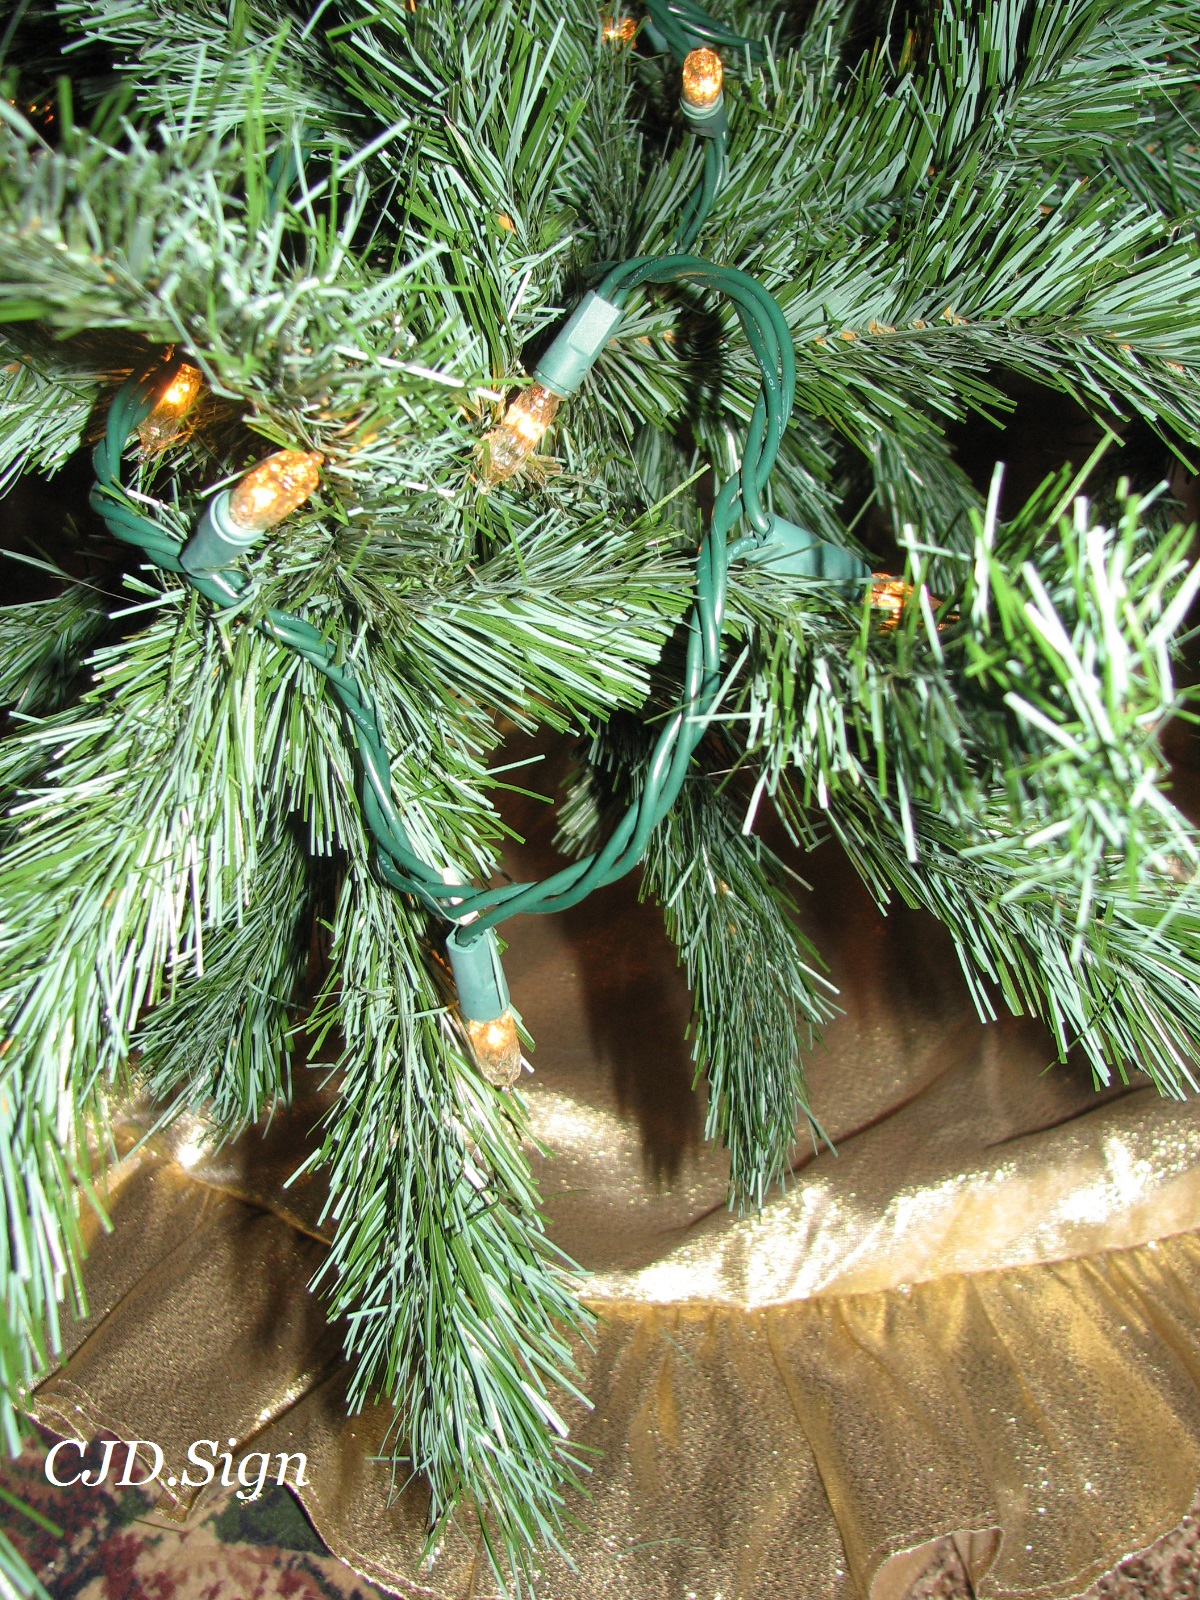
Hack#14 Tie
Save any green twist ties for the Christmas Tree. I also use Green Plant Velcro Ties for the light wires.
Here are the twist ties on the tree lights.
Here are the Green Plant Ties on the tree lights.
Many of the lights have long wired ends. These long ends look really nice tied up and placed at the backside of the tree.
Below, you can see the long ends, not covered by lights. This is the part that is tied with the twist tie or the plant velcro.
Laying out the light strands and checking each one saves hours of frustration when they are on the tree.
Again, check each string of lights before hooking them to the next set inside the tree. This is such a time saver.
Hack#15 Strip Plug
Below is a closeup of the tied light wire on the back branch of the tree.
Tuck the wires into the inside of the tree.
Looking at the back of the tree in the dark
And above, in the daylight. This is the back side of the tree, facing the mirror.
Place the next row of branches the same way as the first set.
The mirror adds so much extra light to the lower part of the tree.
Don't be afraid to place the back branches touching the mirror.
Again, use the same colored balls to fill in the inside of the tree.
Putting the inside balls first before the next string of lights.
Pretty, right!? Even for a Christmas Bush! LOL
Close up of the inside "stem" of the Christmas Tree.
Next level...
I know this seems like a lot of work on the Christmas Tree, but the look is amazing and so worth the time.
Balls filling the inside of the tree with color.
The Crystal Cut Lights look fabulous!
The last level before the next "stem" piece goes up.
The light bunch is waiting for the next level to be placed. The bunch is on the backside of the tree to the right, it will be wrapping clockwise to the front and back to the back again.
Continue up the tree to the topper. Again, placing the same colored balls as you go up the tree. Wrapping the lights in the same direction around the tree.
Ta Da!
You are done with the pre-redecorating of the tree!
Hubby likes the look of the tree before it is completely finished. However, I feel it still needs to be dressed!
 This is a closeup of the back of the tree, where the continual wires are placed. This will be covered when the tree is completely dressed with all the rest of the trimmings!
I put up my tree and lights in a manner to get the most light on each branch. This lighting technique has come to an amazing evolution of what it is today. And it works brilliantly!
This is my finished tree, has been pre-decorated, lit, decorated, trimmed and finished. Presents are underneath and ready for Christmas Day!
This link is a how to: Hang Up Out Door Christmas Lights. This is truly Brilliant and we will be doing this in years to come!
https://www.facebook.com/buzzfeedniftyoutdoors/videos/332962033847321/
Here are some of my other Christmas Posts!
Enjoy!
 Christmas Wreath
Lacy Christmas Angel
Easy Ornaments DIY
Christmas Glittered Decorations
Enjoy!
Let’s connect!
Aside from email, social media is another great way to pick up updates from me.
Follow me on Twitter
Like my Facebook page
Pin my Pics on Pinterest
Follow me on Pinterest
Follow me on Instagram
Our Sponsor:
http://customgemcutter.com


 This is a closeup of the back of the tree, where the continual wires are placed. This will be covered when the tree is completely dressed with all the rest of the trimmings!
 DIY Christmas Candle


 Christmas Thru The Years


.JPG)

Comments
Post a Comment